


-
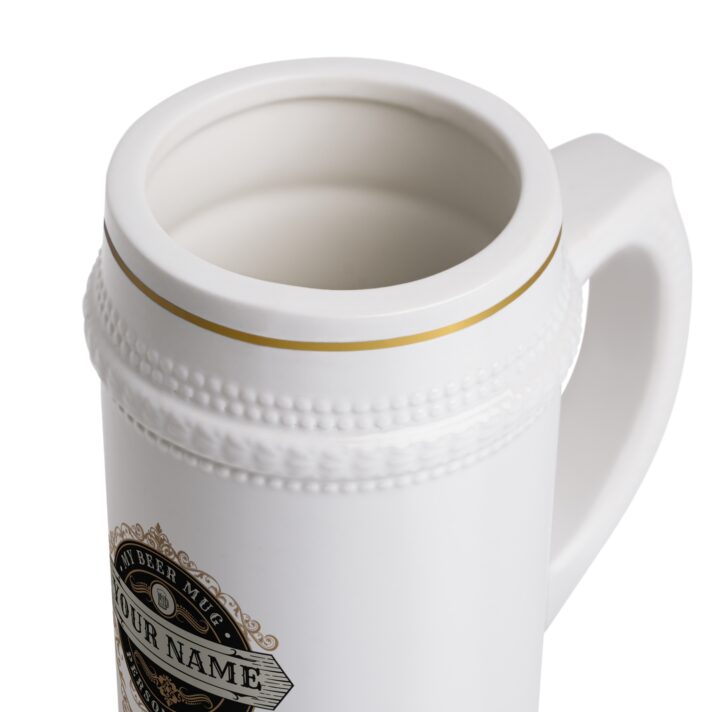
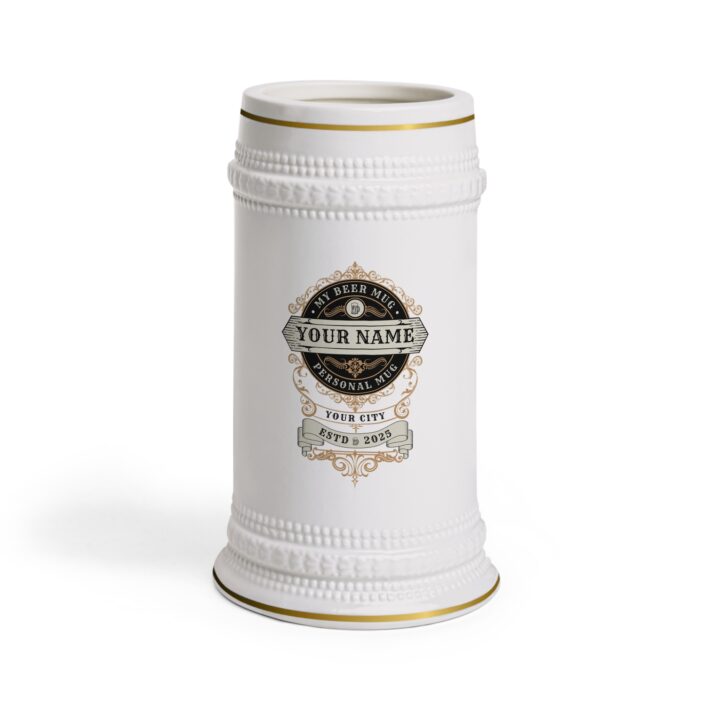
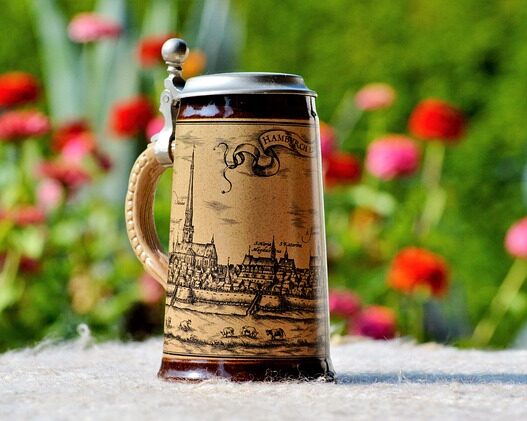
Personalized Beer Stein Mug – Custom Name & City – Perfect for Gifts & Celebrations
$34.00 -
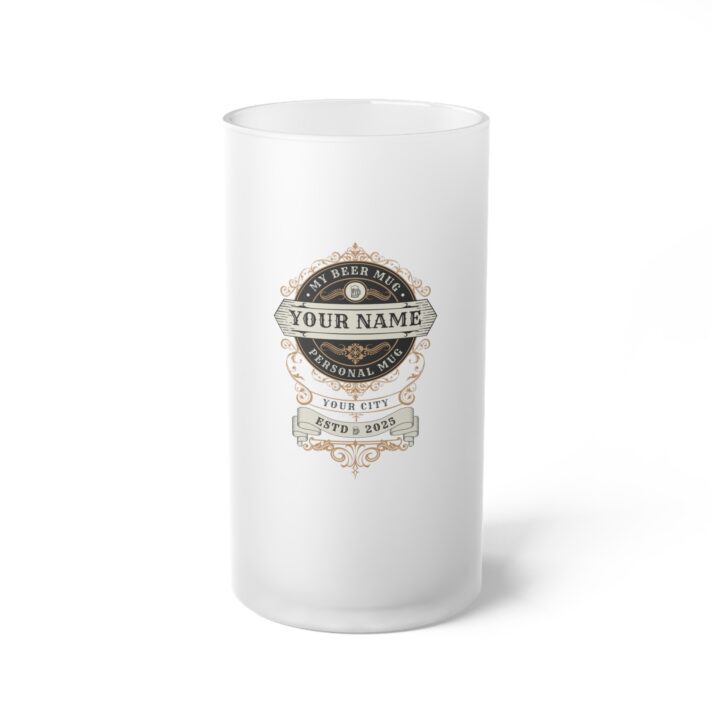
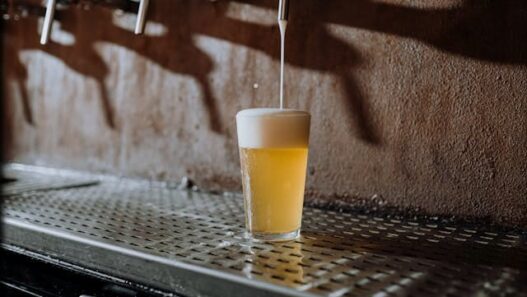
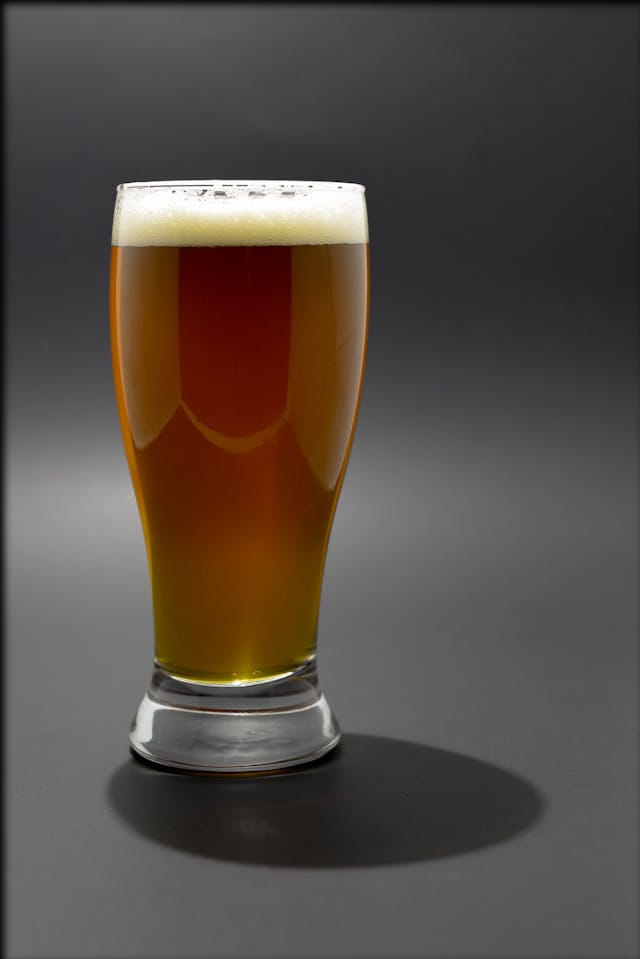
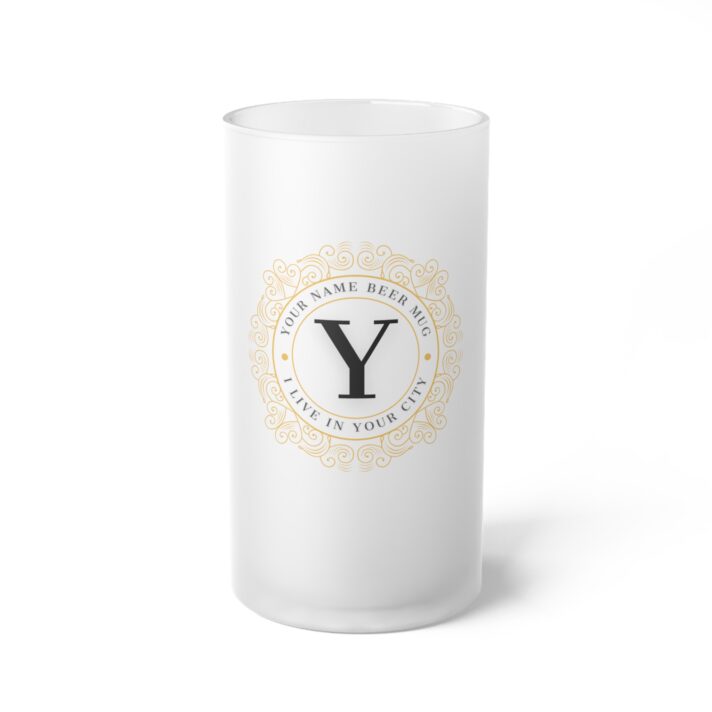
Personalized Frosted Glass Beer Mug – Custom Name & City – Perfect Gift for Beer Lovers
$42.00 -
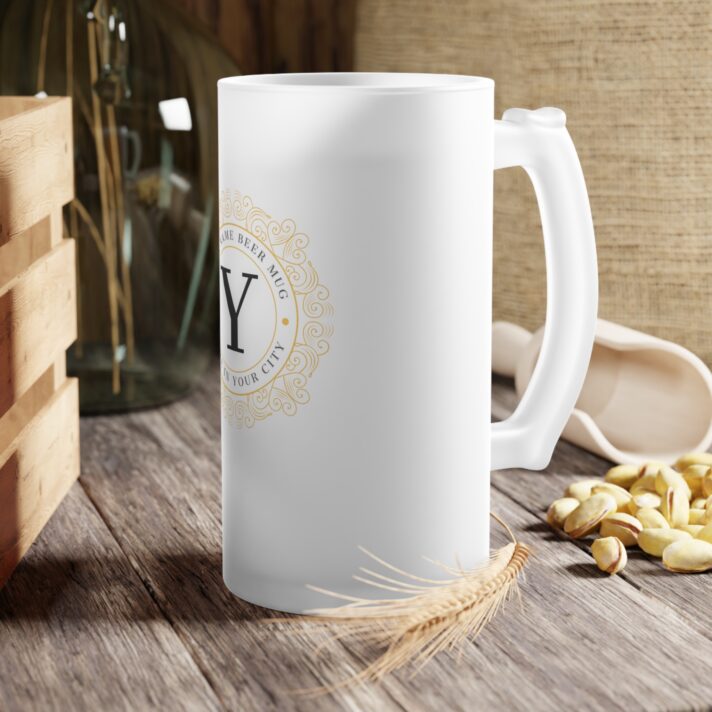
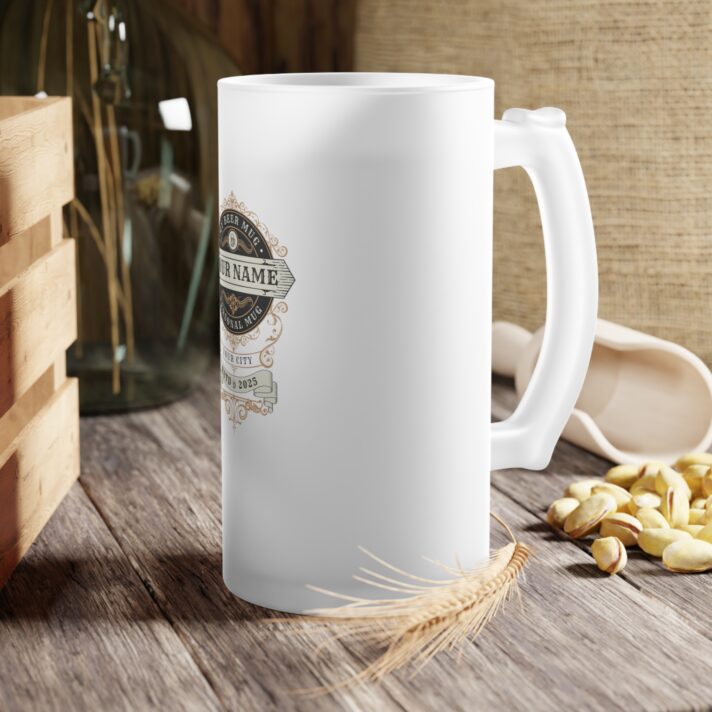
Personalized Frosted Glass Beer Mug – Customizable with Your Name, Perfect for Gifting, Celebrations & Special Occasions
$42.00
Create personalized beer mugs using Sharpies: An enjoyable and simple do-it-yourself project
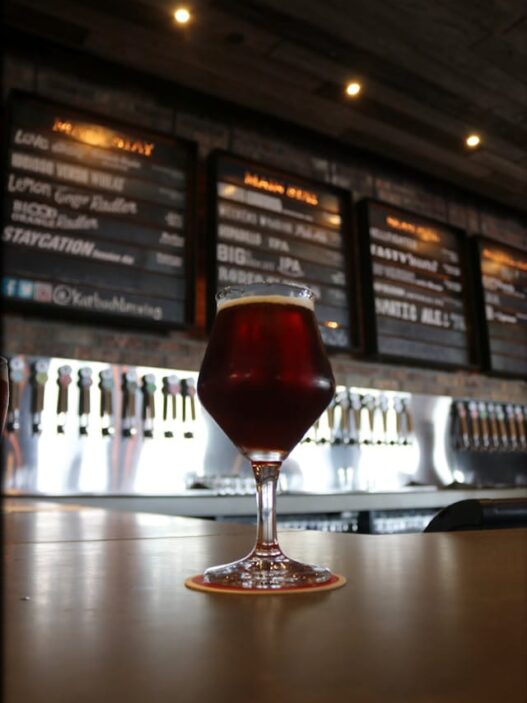
Enjoying a cold beer in your very own customized beer mug is a unique experience. Whether you’re a dedicated beer lover or simply enjoy a good brew, personalized beer mugs can enhance your drinking experience by adding a touch of fun and personality. One great way to personalize your beer mug is by using Sharpies.
Sharpies are markers that are versatile and easy to use, available in a variety of colors to help you personalize your beer mugs. Whether you want to add your name, a creative design, or a special message, Sharpies provide the opportunity for you to get artistic and make your beer mug stand out.
This article will guide you through the easy process of customizing beer mugs with Sharpies. We will cover selecting the appropriate materials and offering advice on crafting a design that will endure. Let us help you tap into your creative side and produce a beer mug that reflects your individuality.

List of materials required:
Before you begin customizing your beer mug, make sure you have the necessary materials on hand. Here is a list of what you will need:
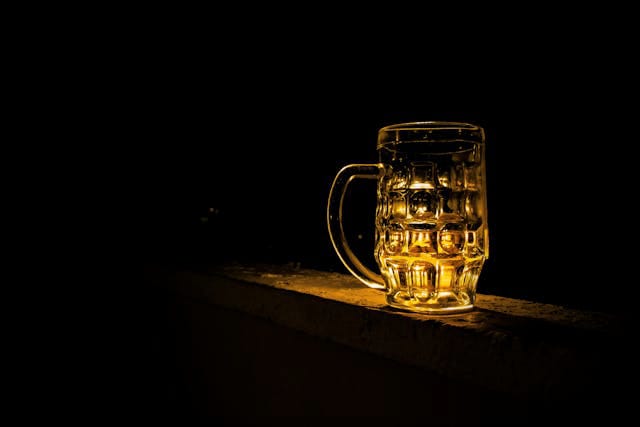
– Choose a plain glass beer mug or opt for one with a frosted or colored finish for a unique appearance.
– Sharpies: Feel free to use any color of Sharpies you prefer, but for improved durability, it is recommended to opt for oil-based markers.
Using rubbing alcohol to set the Sharpie design will make it more permanent.
Use cotton balls or a cotton pad to apply the rubbing alcohol.
– Q-tips are useful for cleaning up mistakes or smudges.
Use a newspaper or paper towel to cover your work surface and protect it from spills or mess.
1. Detailed steps:
2. Step-by-step guide:
With all the necessary materials on hand, it’s time to begin customizing your beer mug using Sharpies. Follow these easy steps to craft a design that reflects your personal style:
Step 1: Start by cleaning and preparing the beer mug
Make sure your beer mug is clean and free of any dust or residue before decorating. Wash it with soap and water, then dry it completely with a clean cloth to ensure the Sharpie design sticks well.
Step 2: Select Your Design
Consider the design you want to create on your beer mug. Personalize it with your name, a favorite quote, a fun pattern, or even a simple doodle. The design possibilities are unlimited, so let your creativity flow and create a design that resonates with you.
Step 3: Draw Your Design
Before you begin decorating the beer mug with Sharpies, it’s recommended to first sketch out your design on paper. This will help you envision how the design will appear and simplify the process of transferring it onto the mug.
Step 4: Sketch Your Design
When you’re satisfied with your sketch, begin using Sharpies to draw on the beer mug. Use a firm hand, take your time, and carefully go over your design with the markers. If you make a mistake, don’t worry – you can easily erase it using a Q-tip dipped in rubbing alcohol.
Step 5: Allow the Design to Dry
Once you have completed your drawing on the beer mug, allow the design to dry for a few hours to ensure the Sharpie ink is fully set. This will reduce smudging and increase the durability of your design.
Step 6: Rubbing Alcohol Application
To make the Sharpie design on the beer mug more permanent, carefully dab a cotton ball or pad soaked in rubbing alcohol over the design. Avoid rubbing too forcefully to prevent smudging.
Step 7: Allow It to Cure
After applying rubbing alcohol, let the beer mug sit for 24 hours to allow the design to fully cure. This will help ensure that your personalized beer mug remains durable for years to come.
Personalizing Beer Mugs with Sharpies: Tips and Tricks
For optimal durability and longevity, choose oil-based Sharpies.
To prevent the design from fading or coming off, it is recommended to hand wash your personalized beer mug with soap and water instead of using the dishwasher.
If you make an error while drawing on the beer mug, just wipe it off with a Q-tip soaked in rubbing alcohol and begin again.
Try out different colors and patterns to make a one-of-a-kind and attention-grabbing customized beer mug.
– Enjoy yourself and show off your creative talents! Using Sharpies to personalize beer mugs is a fun way to showcase your personality and enhance your drinking experience.
In summary, customizing beer mugs with Sharpies is an enjoyable and simple DIY task that is accessible to everyone. With minimal supplies and a touch of creativity, you can design a personalized beer mug that showcases your individuality and flair. So gather your Sharpies, tap into your artistic side, and begin personalizing your beer mugs now! Cheers!