


-
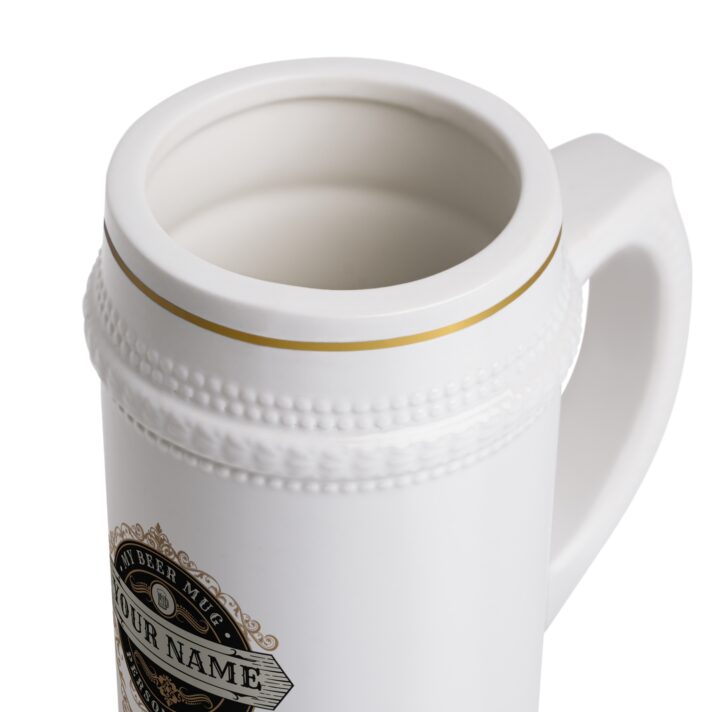
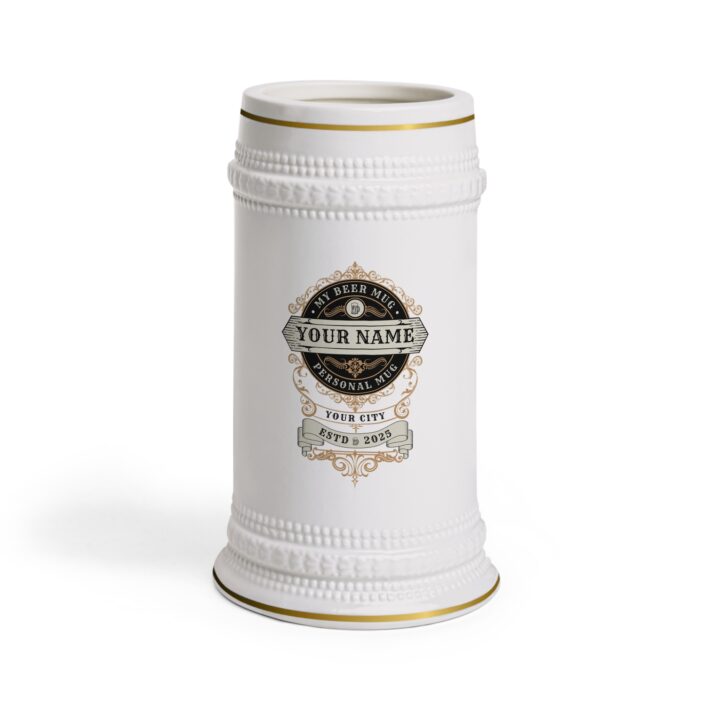
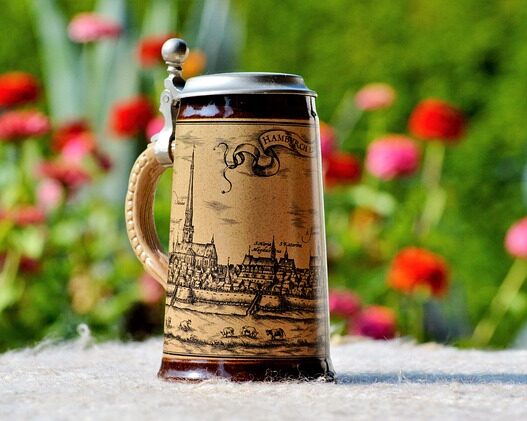
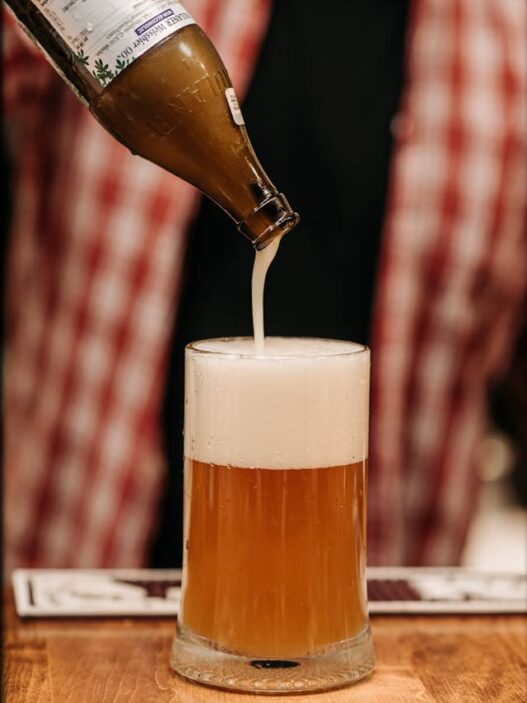
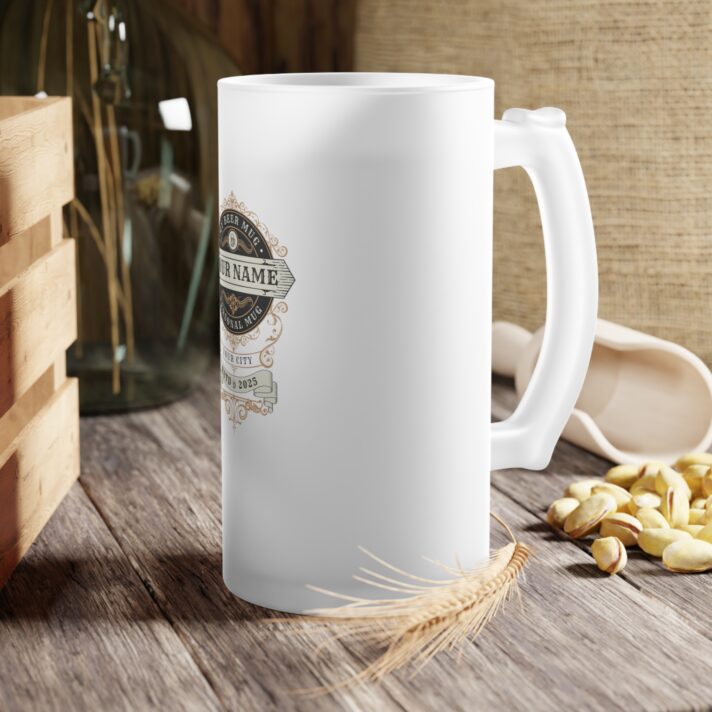
Personalized Beer Stein Mug – Custom Name & City – Perfect for Gifts & Celebrations
$34.00 -
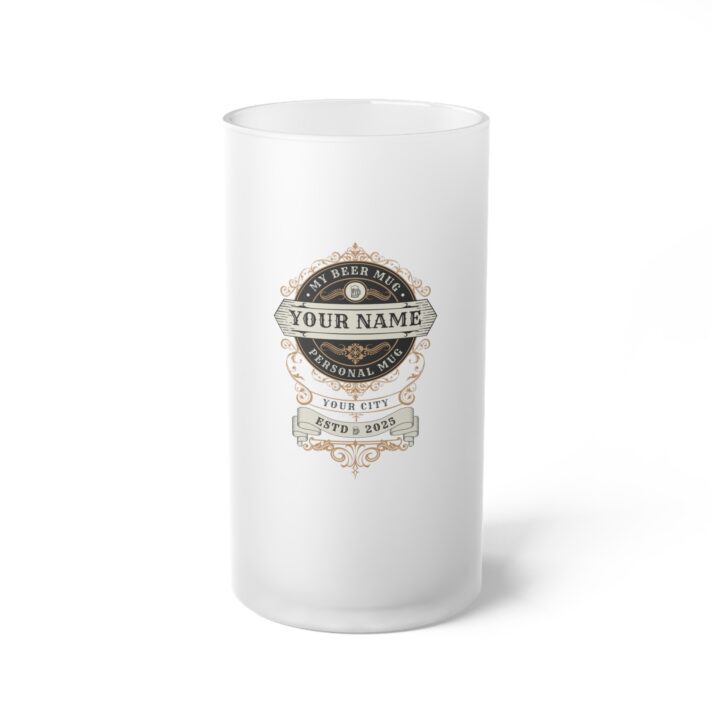
Personalized Frosted Glass Beer Mug – Custom Name & City – Perfect Gift for Beer Lovers
$42.00 -
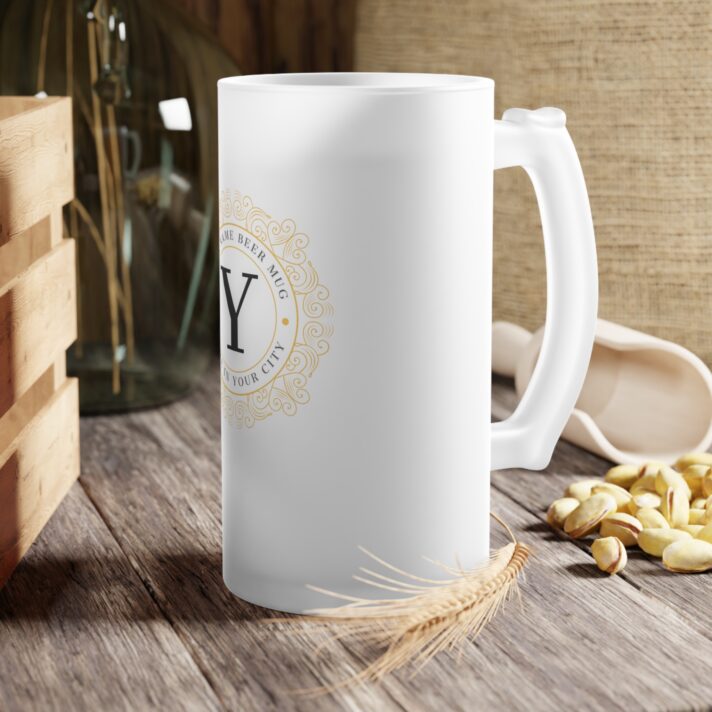
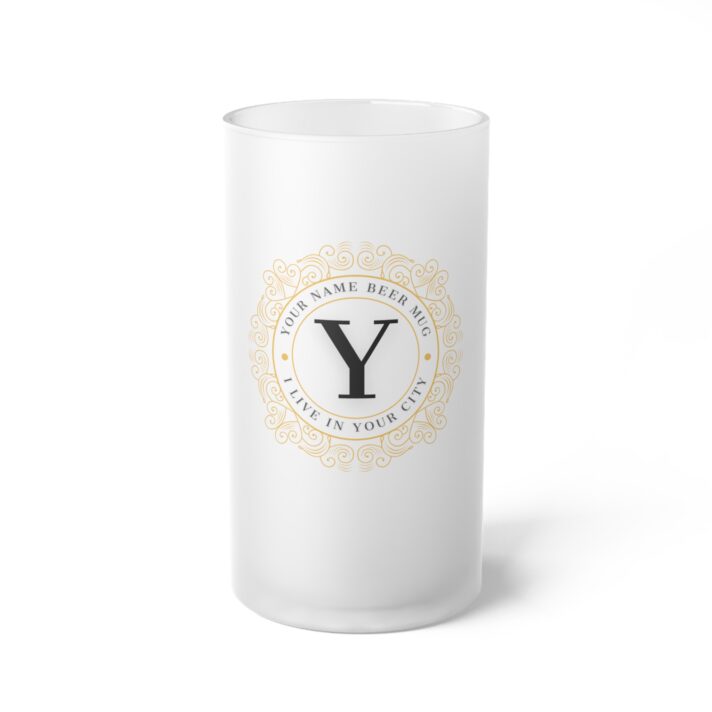
Personalized Frosted Glass Beer Mug – Customizable with Your Name, Perfect for Gifting, Celebrations & Special Occasions
$42.00
Are you a beer enthusiast who also loves gardening? Why not merge your two passions by repurposing a beer mug into a one-of-a-kind planter? This eco-friendly DIY project will not only spruce up your indoor or outdoor space but also showcase your personality. Follow along as we provide step-by-step instructions on how to transform a simple beer mug into a stunning and practical planter.
Items Required:
Choose a succulent plant or another small plant that you prefer.
– Soil for potting plants

– Tiny pebbles or small rocks
Activated charcoal can be used if desired.
– A small fragment of mesh or fabric
– Optional decorative elements include stones, shells, and moss.
Step 1: Select Your Beer Mug
To begin this project, choose a beer mug that you no longer use or are willing to repurpose. Select either a plain glass or colorful mug according to your preference. Ensure the mug is clean and dry before starting the makeover.
Step 2: Ready the Beer Mug for Planting
In order to make sure your plant has proper drainage, you should make a hole in the bottom of the beer mug. This can be accomplished by using a drill with a diamond drill bit or by carefully creating a hole with a hammer and nail. Remember to wear protective gear and be careful to prevent any injuries.
Step 3: Incorporate Drainage Materials
To avoid water stagnating in the beer mug, place a layer of small rocks or pebbles at the bottom. This will enhance soil drainage and support plant health. Additionally, adding a layer of activated charcoal on top of the rocks can help absorb excess moisture and prevent unpleasant odors.
Step 4: Apply potting soil
Fill the beer mug with potting soil, ensuring there is space at the top for the plant. Use a well-draining potting mix appropriate for the plant. Lightly press down the soil to evenly distribute it without compacting it too much.
Step 5: Place your succulent in the soil
Gently take the succulent plant out of its nursery pot and shake off any extra soil from the roots. Position the plant in the middle of the beer mug and add additional soil around it, lightly pressing it down to keep the plant secure. Confirm that the roots are fully covered and the plant is stable.
Step 6: Applying Final Touches
For a more polished appearance, consider adding a piece of mesh or fabric over the drainage hole of your beer mug planter to prevent soil from spilling out. Enhance the soil by adding decorative stones, shells, or moss on top for added texture and visual appeal.
Step 7: Maintain Your Beer Mug Planter
After assembling your beer mug planter, place it in a sunny area so that your plant can get enough light. Water your succulent sparingly, ensuring that the soil dries out between waterings to avoid root rot. Remember to add a saucer or tray beneath the planter to collect any excess water that may drain out.
In summary, transforming a beer mug into a planter is an enjoyable and innovative method to give new purpose to a common object by making it both aesthetically pleasing and practical. By following a few straightforward instructions and using basic materials, you can produce a distinctive and customized planter that will bring a hint of nature into your living space or outdoor area. Therefore, instead of discarding the mug after finishing your beer, consider repurposing it as a miniature garden.