


-
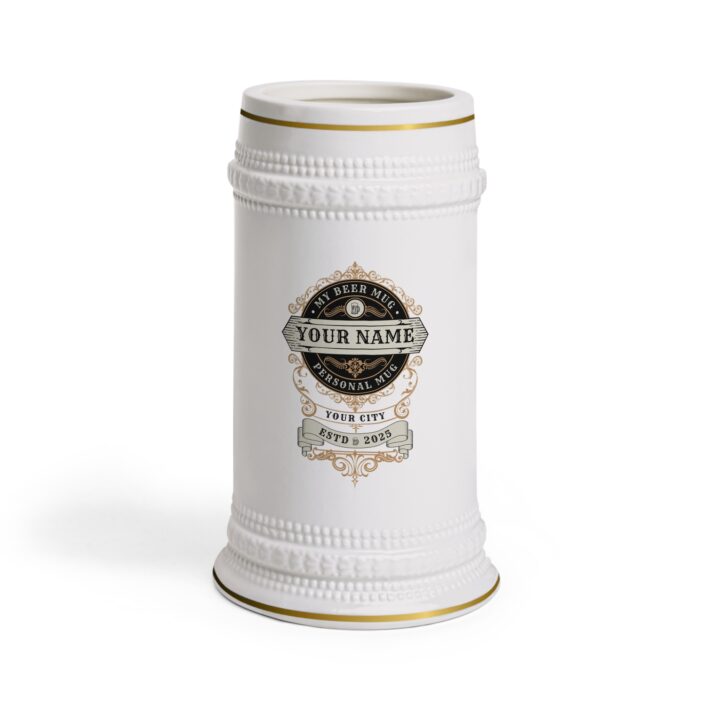
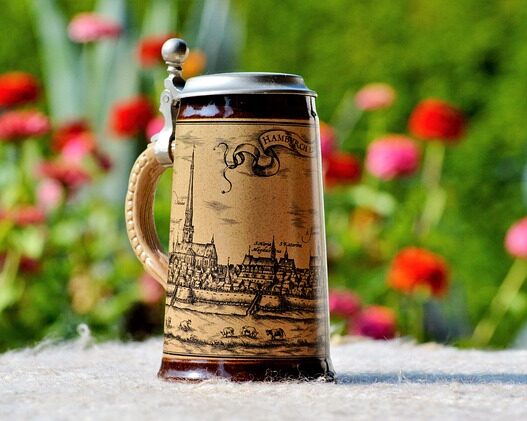
Personalized Beer Stein Mug – Custom Name & City – Perfect for Gifts & Celebrations
$34.00 -
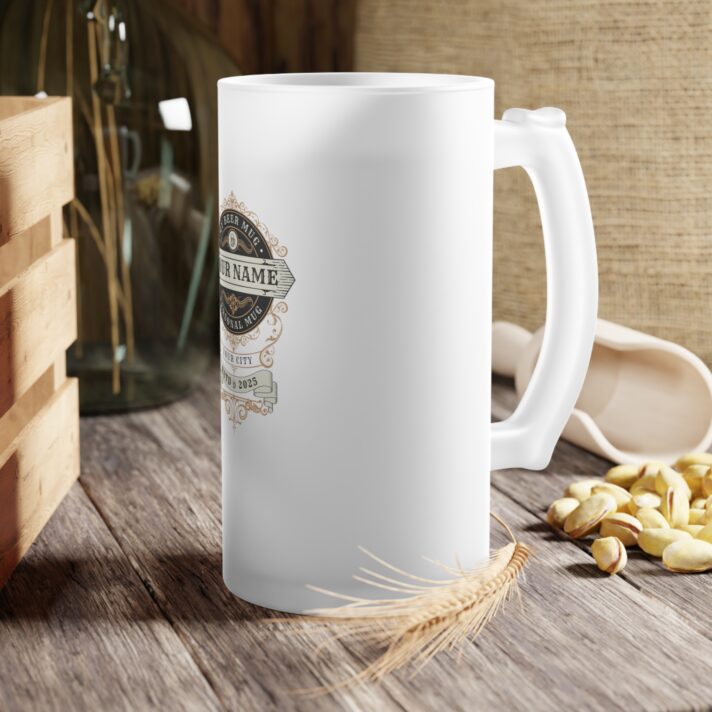
Personalized Frosted Glass Beer Mug – Custom Name & City – Perfect Gift for Beer Lovers
$42.00 -
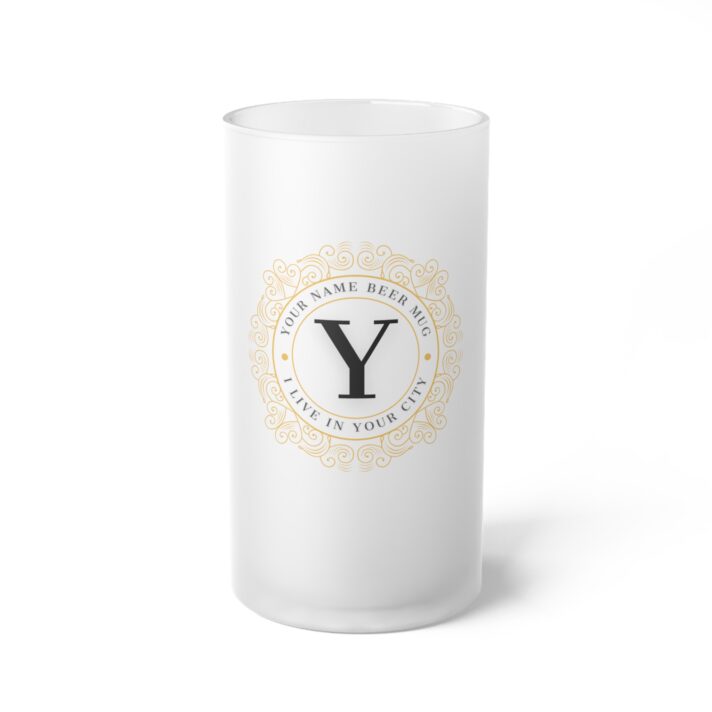
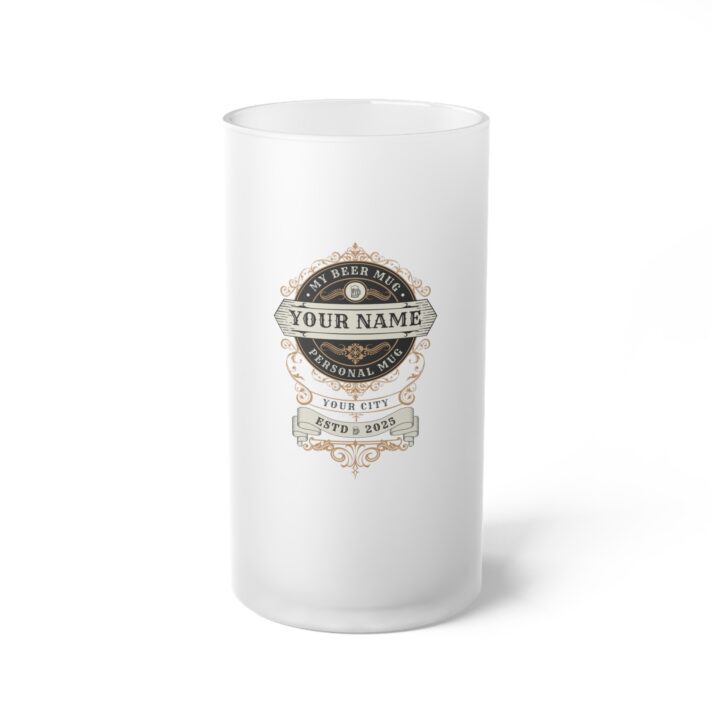
Personalized Frosted Glass Beer Mug – Customizable with Your Name, Perfect for Gifting, Celebrations & Special Occasions
$42.00
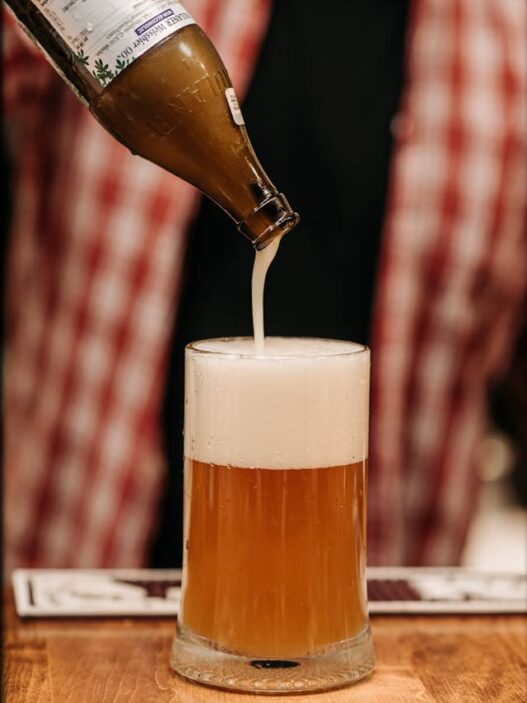
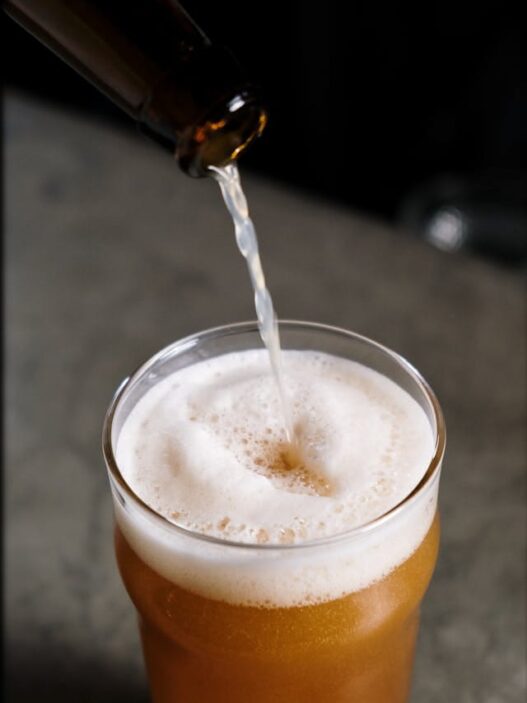
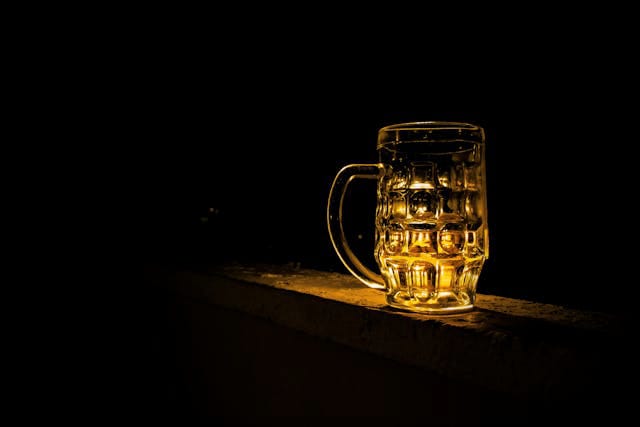
Beer is a beloved drink enjoyed by people worldwide. Whether you’re a beer enthusiast or simply like to relax with a cold one on a warm day, having a custom beer mug can enhance your drinking experience. While there are many beer mugs for sale, creating your own at home can be a fun and fulfilling DIY endeavor. This article will walk you through the steps to craft your own beer mug.
Required Materials:
– Glass or ceramic mug (either purchase a plain mug or reuse an old one)
– Tape or stencil used by painters

– Paint for glass or ceramic surfaces
– Brushes for painting
– Transparent sealant spray
Step 1: Select a Design
Consider the design you want for your beer mug before starting. Keep it simple with a monogram, geometric pattern, or logo, or let your creativity shine with a more elaborate design. If you lack confidence in your painting skills, use painter’s tape or a stencil for clean lines and shapes.
Step 2: Prepare the Mug
Before you begin painting, ensure that your mug is both clean and dry. If you are reusing an old mug, it may be necessary to wash it with warm soapy water to eliminate any dirt or residue. To outline your design on the mug, consider using painter’s tape or a stencil. This will assist you in staying within boundaries and achieving a polished and professional appearance.
Step 3: Apply the Design with Paint
Utilize glass or ceramic paint to fill in the design on your mug with precision. Experiment with different paintbrushes to create unique textures and effects. If you happen to make a mistake, simply wipe away the wet paint with a damp cloth. Allow the paint to dry thoroughly before proceeding to the next step.
Step 4: Include Specifics
After the initial coat of paint has dried, feel free to incorporate extra details or decorations to personalize your beer mug design. This is your chance to unleash your creativity and truly customize your mug. Try out various colors, patterns, and textures to elevate your design and make it stand out.
Step 5: Design Should be Sealed
To ensure your design remains pristine and durable, protect it by applying a clear sealant spray. This will help preserve the appearance of your beer mug for an extended period of time. Be sure to carefully adhere to the instructions provided on the spray can and allow the sealant to fully dry before utilizing your beer mug.
Step 6: Have Fun with Your Personalized Beer Stein
After the sealant has dried, your personalized beer mug is good to go! Fill it up with your preferred brew and savor a cool, invigorating drink in a stylish vessel. No matter if you’re indulging in a traditional lager, a fruity IPA, or a robust stout, your custom beer mug will elevate the drinking experience and add a touch of uniqueness.
In summary, creating your own beer mug at home is an enjoyable and artistic DIY endeavor that enables you to showcase your individuality and creativity. By using basic materials and tapping into your imagination, you can craft a unique beer mug that you’ll be proud to use and display to others. Instead of settling for a mundane, mass-produced mug, why not design your own personalized masterpiece? Grab a mug, some paint, and unleash your creativity. Here’s to homemade beer mugs!