


-
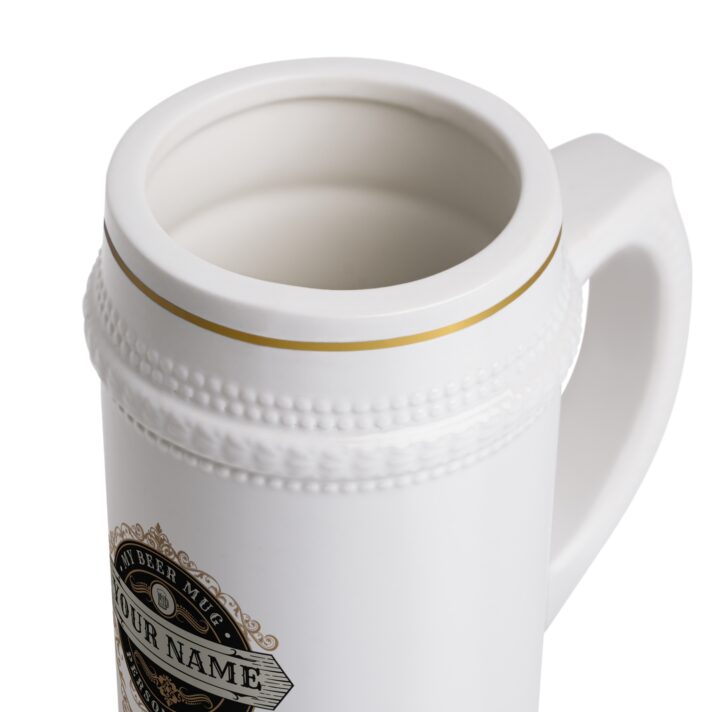
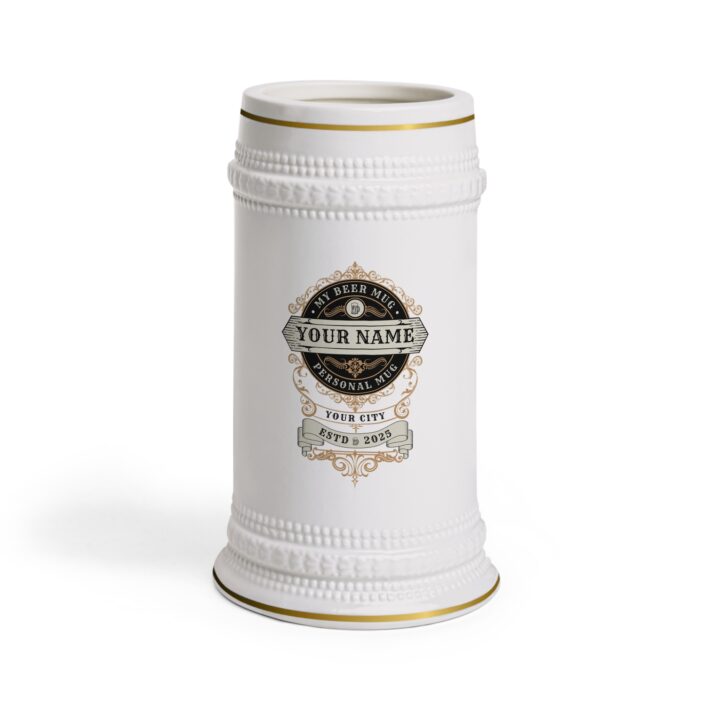
Personalized Beer Stein Mug – Custom Name & City – Perfect for Gifts & Celebrations
$34.00 -
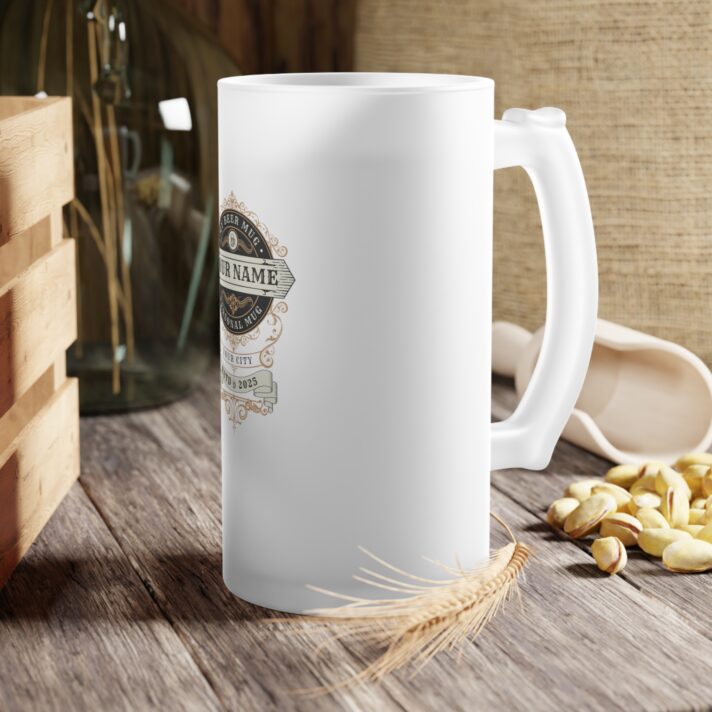
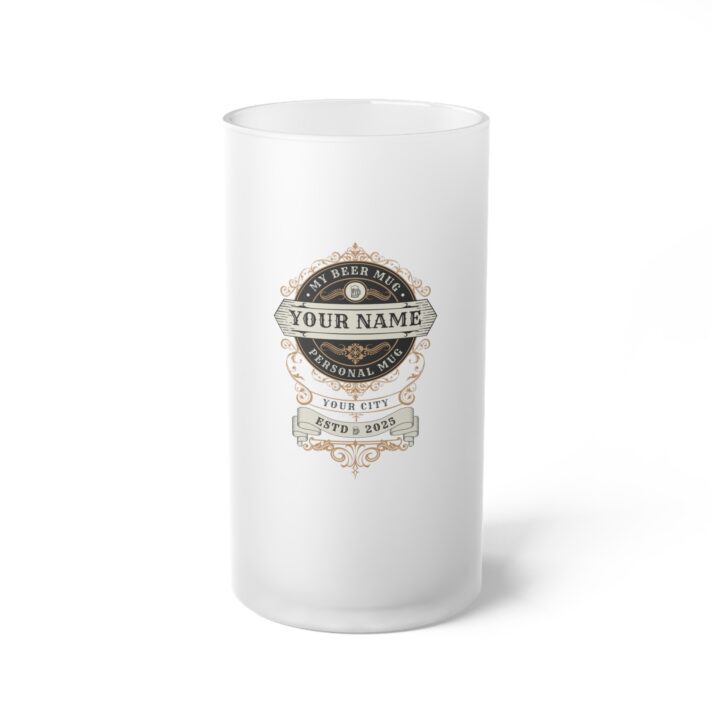
Personalized Frosted Glass Beer Mug – Custom Name & City – Perfect Gift for Beer Lovers
$42.00 -
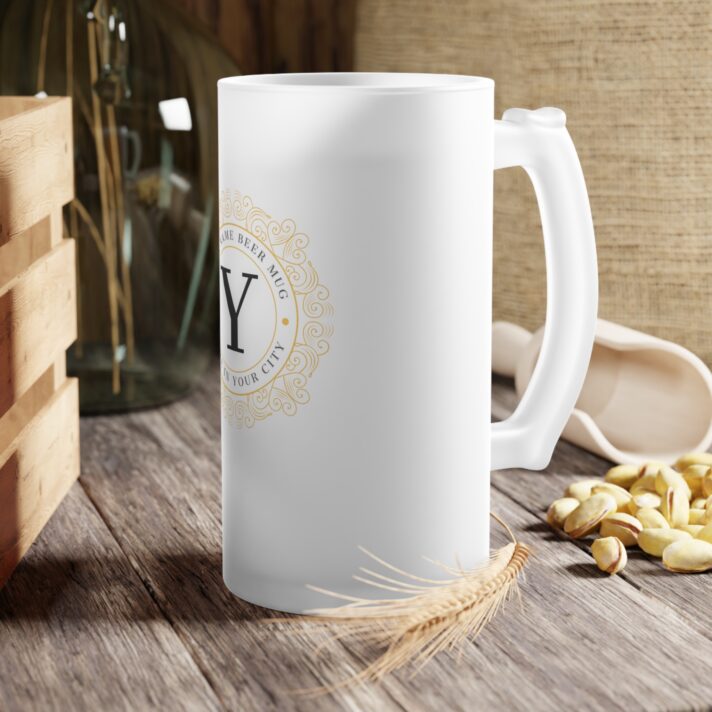
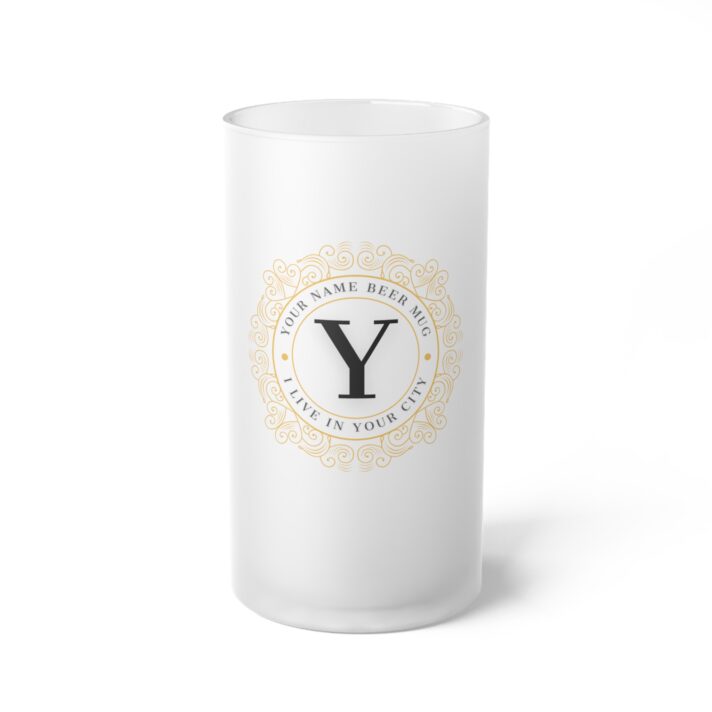
Personalized Frosted Glass Beer Mug – Customizable with Your Name, Perfect for Gifting, Celebrations & Special Occasions
$42.00
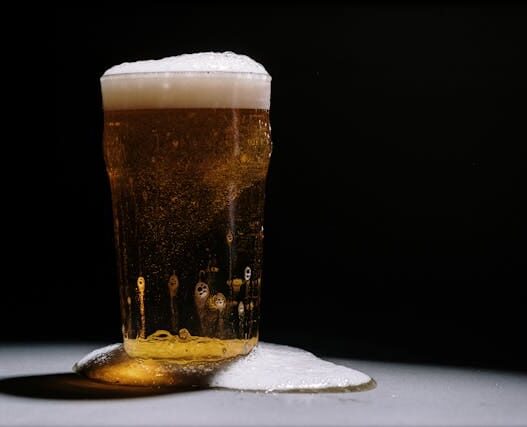
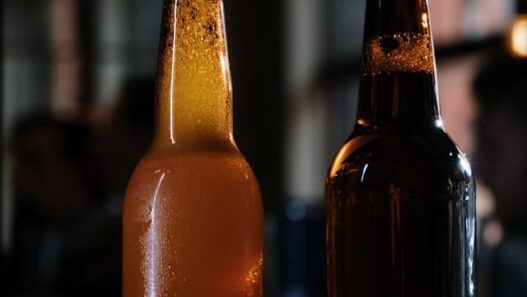
Enjoying a cold beer on a hot summer day is a unique experience, especially when served in a chilled mug. However, there is a correct and incorrect method for freezing beer mugs. This article will discuss the proper steps to freeze beer mugs effectively, ensuring you can savor that frosty brew with ultimate refreshment.
Step 1: Before placing your beer mug in the freezer, ensure it is clean by washing it with warm, soapy water to remove any residue or odors that could alter the taste of your beer. Dry the mug completely before moving on.
Step 2: Refrigerate your mug before freezing. To prevent cracking, chill your beer mug in the refrigerator for 30 minutes before placing it in the freezer.

Step 3: Transfer the mug to the freezer after pre-chilling it. Place the mug upright on a flat surface with enough space around it for air circulation to ensure even and quick freezing of the glass.
Step 4: Keep an eye on the freezing time: The freezing duration of your beer mug will vary depending on the temperature of your freezer. Typically, it should take around 1-2 hours for the mug to achieve the desired frosty chill. Make sure to check on the mug regularly to prevent it from freezing for too long, which could potentially lead to the glass cracking.
Step 5: Properly store your frozen beer mug in the freezer until you are ready to use it. Ensure it is kept away from heavy or sharp objects that may damage the glass.
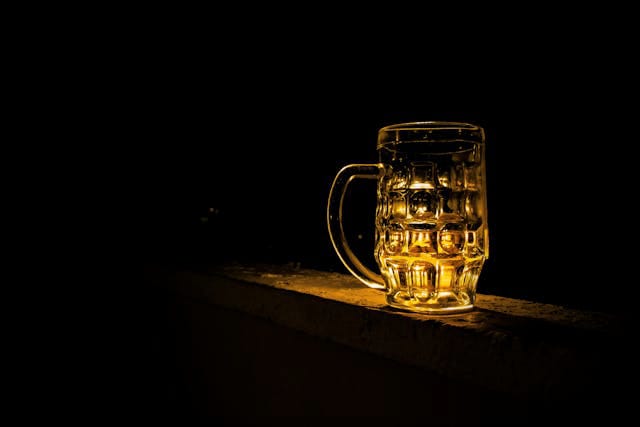
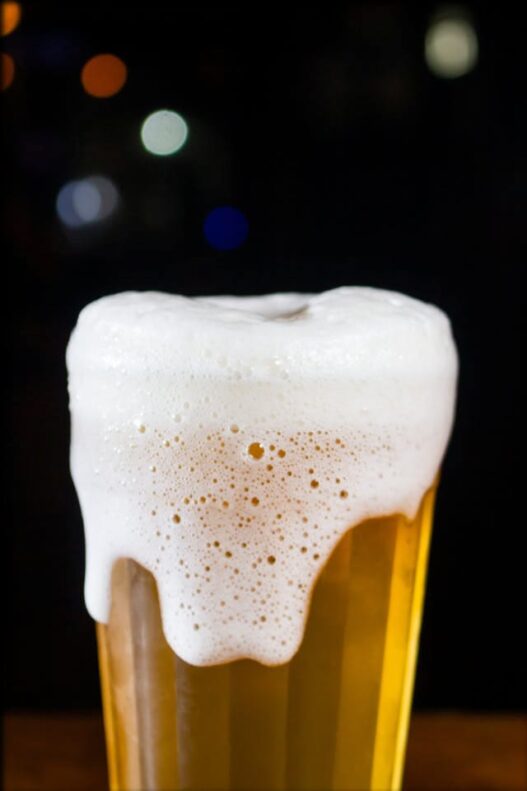
Step 6: Enjoy your ice-cold beer – Once your frozen mug is ready, pour in your favorite beer and relax while you savor every sip of the chilled refreshment. The frozen mug will help to maintain the cold temperature of your beer for a longer period of time.
Things to avoid:
1. Freezing your beer mug for an extended period can cause the glass to crack or shatter when removed from the freezer. It is better to avoid leaving it in the freezer overnight for maximum chill.
2. Avoid putting a wet or damp beer mug in the freezer as the water can freeze and cause the glass to crack. Make sure the mug is dry before freezing.
3. It is best to use a plain glass mug without any design or logo when freezing instead of a beer mug with a cool design or logo. Designs or logos on the glass may contain materials that are not meant to be frozen, compromising the integrity of the glass.
4. To prevent cracking or shattering, do not place a beer mug that has been chilled in the refrigerator directly into the freezer. Let it come to room temperature first before freezing.
5. Opt for a thick, sturdy glass beer mug instead of a thin one: Thick glass mugs are less likely to crack or break when subjected to extreme temperatures. To prevent any accidents, it’s recommended to use a durable glass mug for freezing purposes.
To wrap up, freezing beer mugs can elevate your beer-drinking experience, but it’s crucial to do so properly to prevent glass damage. By adhering to these guidelines, you can guarantee your beer stays chilled and satisfying. Remember to freeze your mug before opening your next beer to savor that ideal sip of cold refreshment. Cheers!