


-
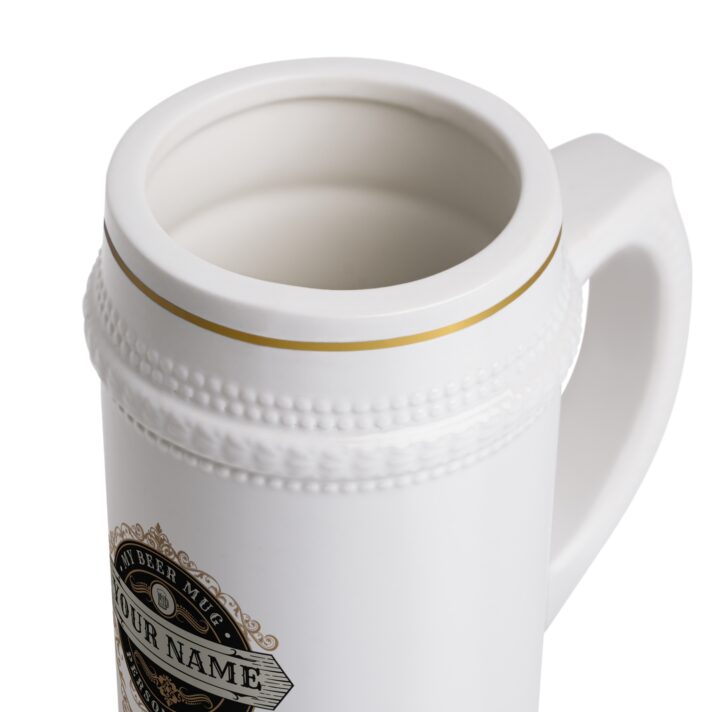
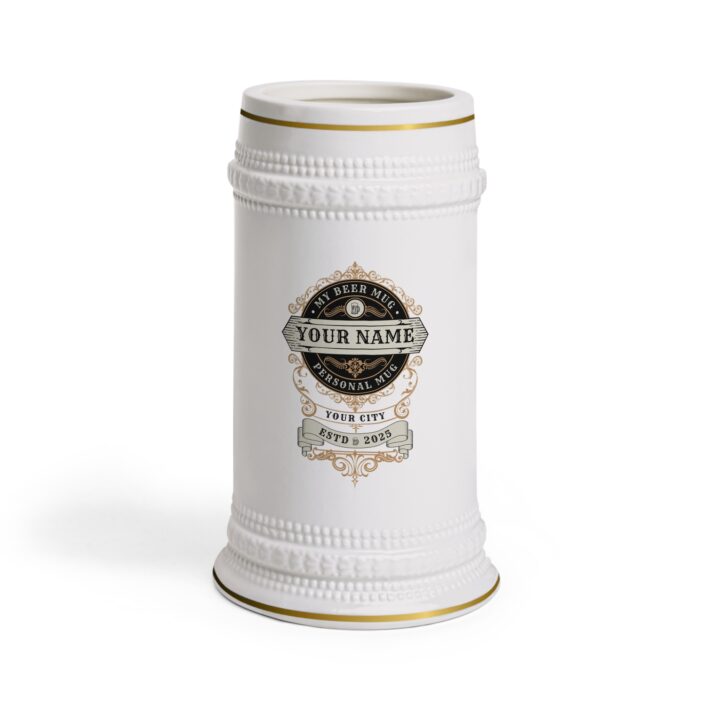
Personalized Beer Stein Mug – Custom Name & City – Perfect for Gifts & Celebrations
$34.00 -
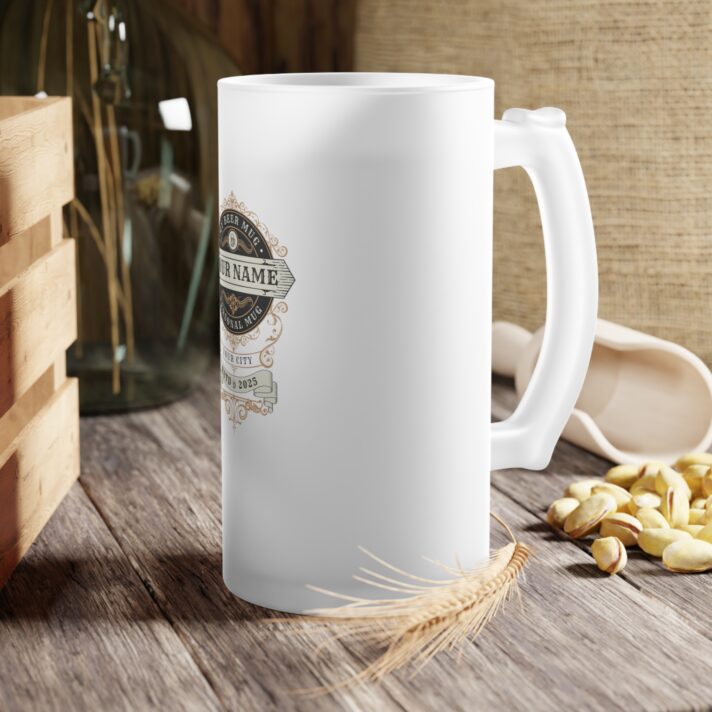
Personalized Frosted Glass Beer Mug – Custom Name & City – Perfect Gift for Beer Lovers
$42.00 -
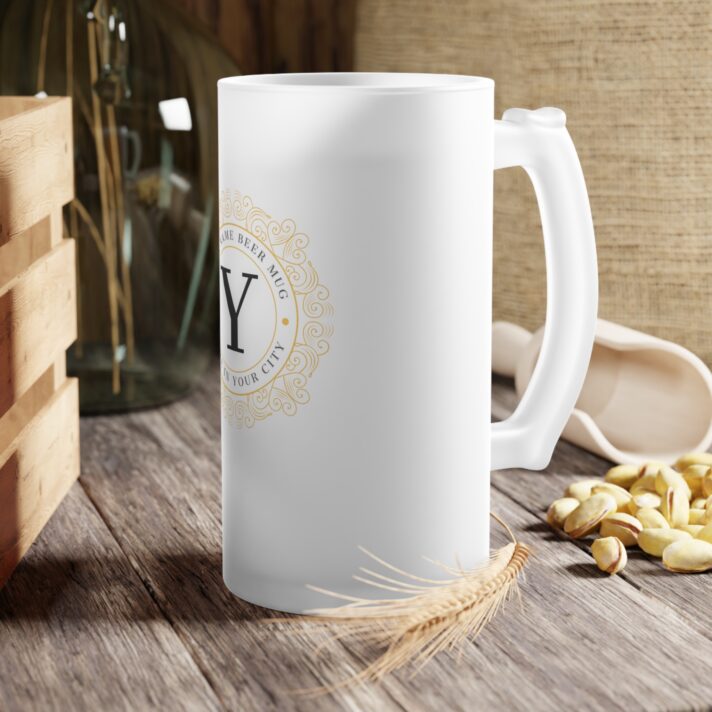
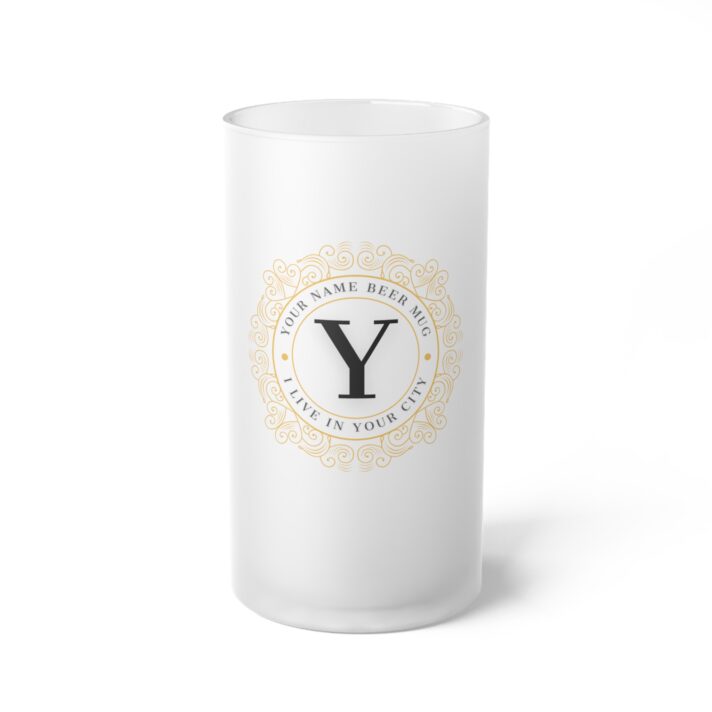
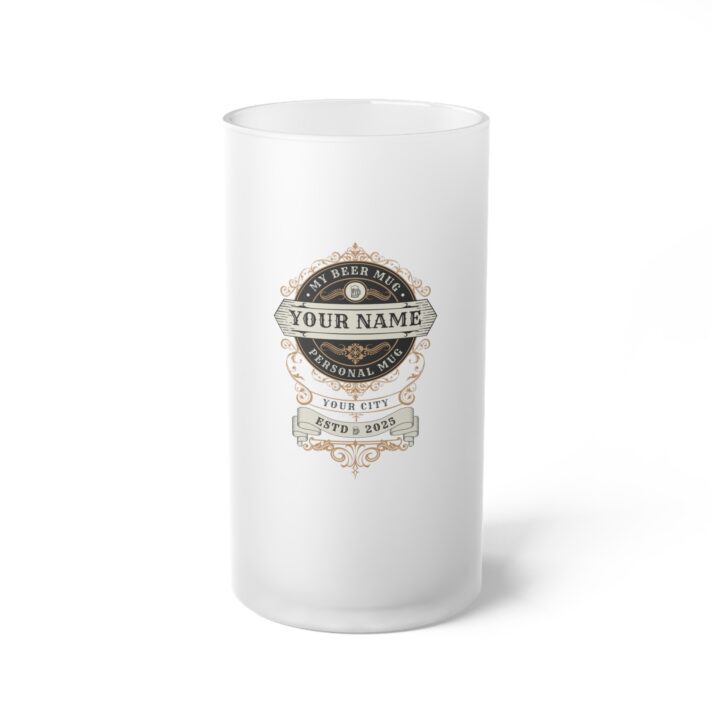
Personalized Frosted Glass Beer Mug – Customizable with Your Name, Perfect for Gifting, Celebrations & Special Occasions
$42.00
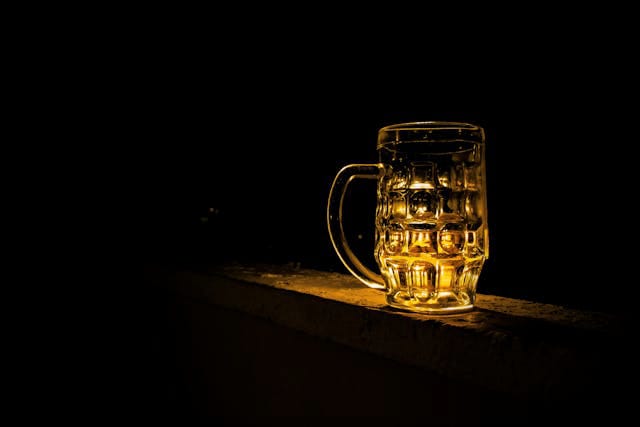
For those who enjoy a cold beer, drinking from a ceramic beer mug is often the preferred choice. These durable mugs can help to keep your drink cold and are ideal for sharing your favorite brew with friends. However, as time goes on, these mugs may begin to exhibit signs of damage, such as chipping in the ceramic.
Having a chip in your ceramic beer mug may appear to be a minor problem, but it can impact the flavor and satisfaction of your drink. Fortunately, there are solutions available to repair these chips and return your mug to its original condition. This article will examine various techniques for fixing chips in ceramic beer mugs.
Step 1: Evaluate the extent of the damage
Assess the extent of the damage to your ceramic beer mug chip before attempting to fix it. If the chip is small and shallow, repairing it may be straightforward. However, if the chip is large or deep, professional assistance may be necessary.

Step 2: Collect all necessary supplies
In order to repair a chip in a ceramic beer mug, you will require a few simple materials. These materials are:
– Adhesive made of epoxy
– Abrasive paper
– Paint made of acrylic
– Sealant for clear coat
– Paintbrush
Most of these materials can be found at your local hardware store or purchased online.
Step 3: Ensure the Area is Cleaned
Before beginning the chip repair, it is important to thoroughly clean the surrounding area. Wash the mug with mild soap and warm water, then dry it completely with a clean towel to ensure proper adhesion of the adhesive.
Step 4: Apply Epoxy Adhesive
After ensuring that the area is clean and dry, apply a small quantity of epoxy adhesive to the chip. Utilize a toothpick or a small brush to evenly spread the adhesive over the chip, ensuring to fill any cracks or gaps. Press the adhesive firmly into the chip to establish a secure bond.
Step 5: Sand the designated area
Once the adhesive has fully dried, gently sand the surface of the repaired area with fine-grit sandpaper. This will help blend the chip with the rest of the mug for a seamless finish. Take care to avoid causing damage to the surrounding area while sanding.
Step 6: Paint the chip with the following instructions
After smoothing out the repaired area, use acrylic paint and a small paintbrush to carefully apply a thin layer of paint to the chip in order to match the color of the rest of the mug. Make sure to allow the paint to dry completely before proceeding to the next step.
Step 7: Seal the Repair
For added protection and durability, it is recommended to apply a clear coat sealant over the repaired area. Using a paintbrush, carefully coat the chip with a thin layer of sealant and allow it to fully dry. This step will help secure the paint in place and prevent future chipping.
Step 8: Allow the Mug to Cure
Allow the mug to sit for a minimum of 24 hours after the repair is done to allow the adhesive, paint, and sealant to fully cure. This will guarantee a strong and long-lasting repair, ensuring that you can enjoy your ceramic beer mug for years to come.
To sum up, repairing chips in ceramic beer mugs is a straightforward and efficient method to bring your preferred drinkware back to its initial state. If you follow the provided instructions and utilize appropriate materials, you can effortlessly fix any chips in your mug and savor your beloved brew in a fashionable manner. Therefore, when you spot a chip on your ceramic beer mug next time, don’t fret – simply follow these guidelines and restore your mug to pristine condition. Cheers!