


-
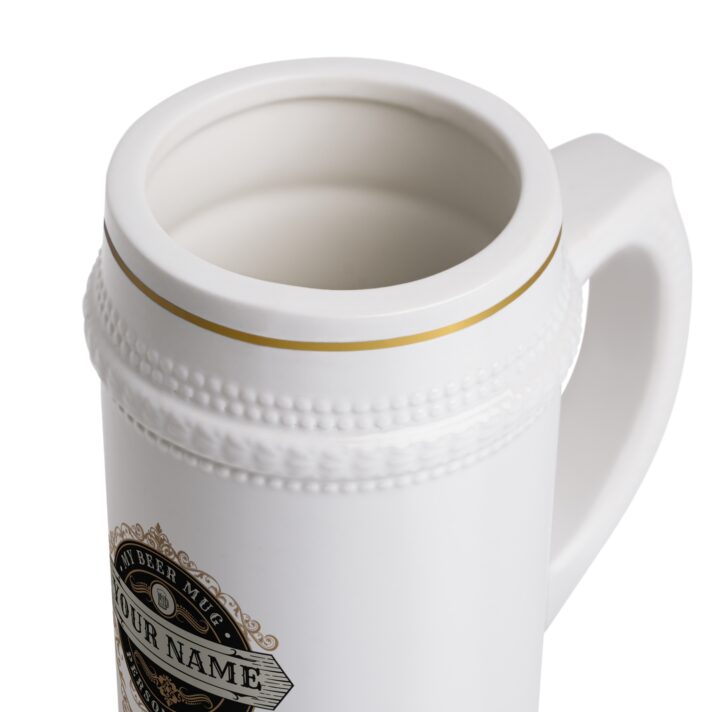
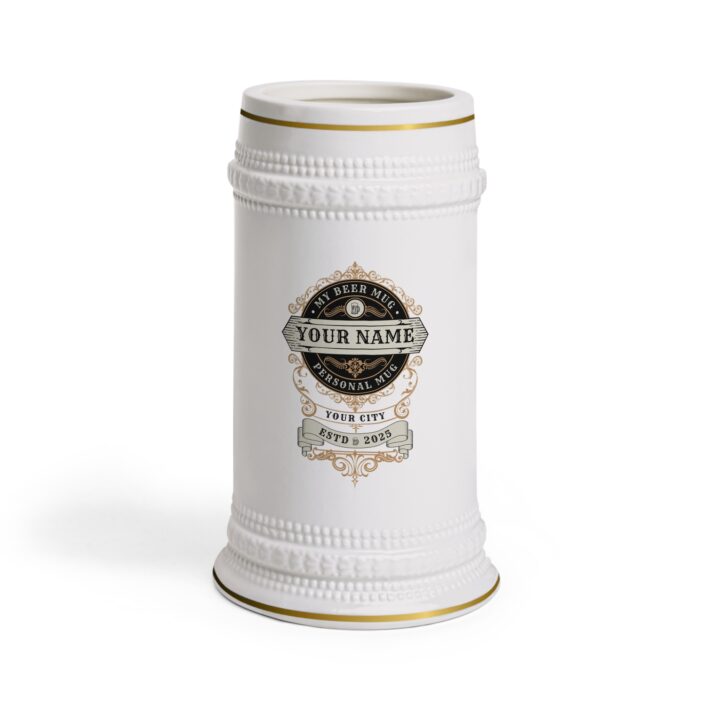
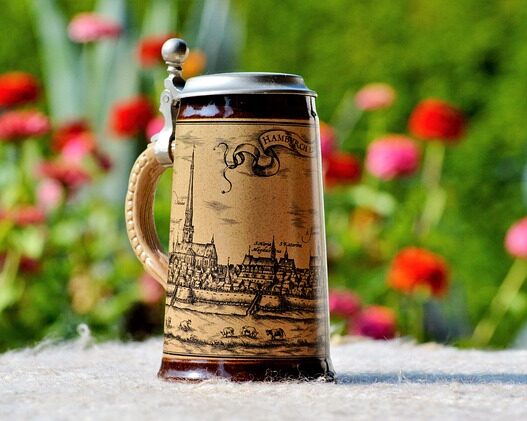
Personalized Beer Stein Mug – Custom Name & City – Perfect for Gifts & Celebrations
$34.00 -
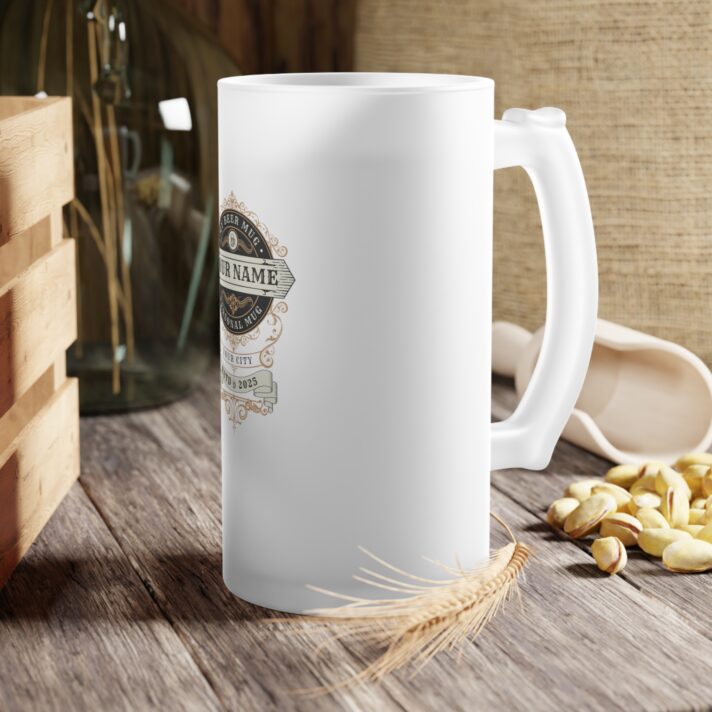
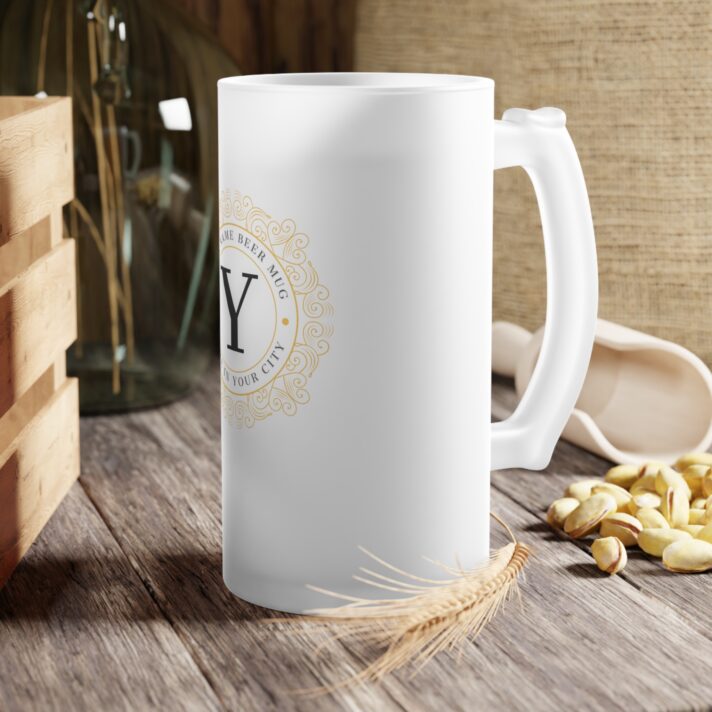
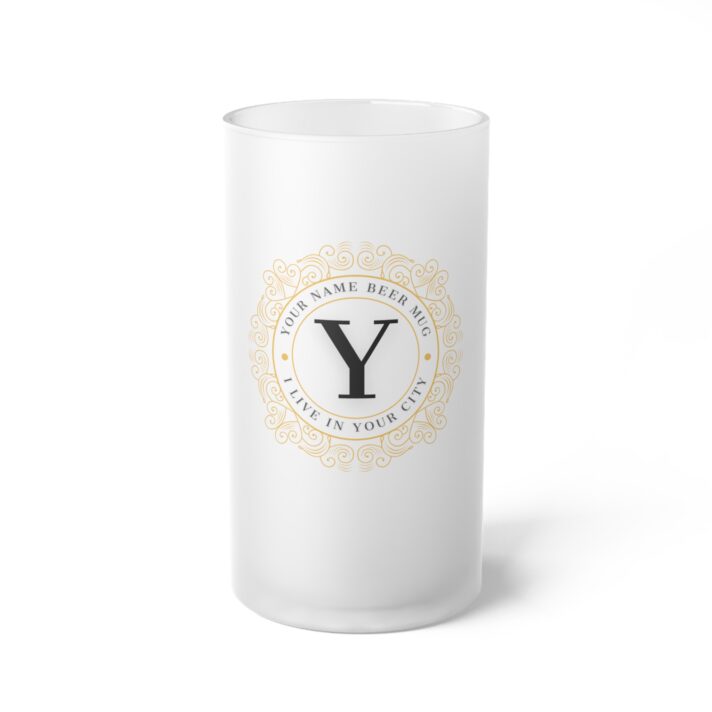
Personalized Frosted Glass Beer Mug – Custom Name & City – Perfect Gift for Beer Lovers
$42.00 -
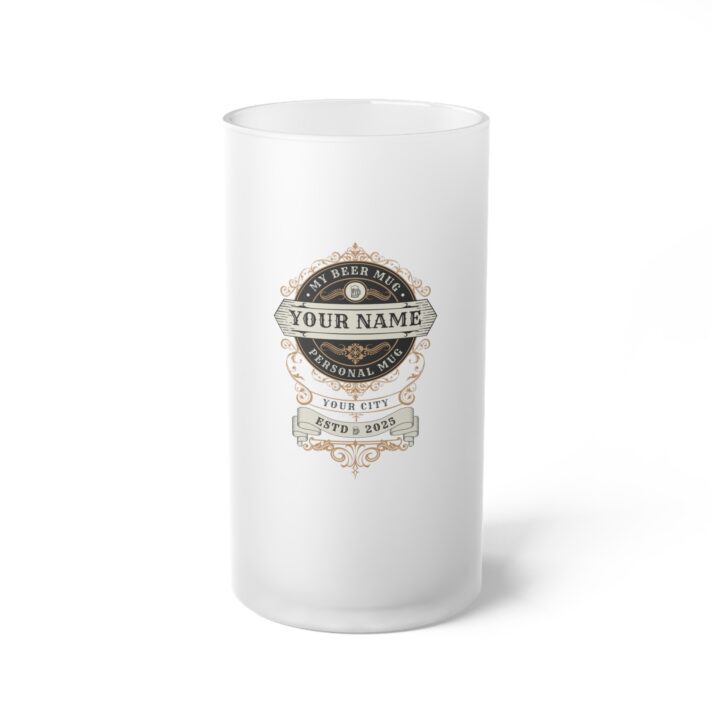
Personalized Frosted Glass Beer Mug – Customizable with Your Name, Perfect for Gifting, Celebrations & Special Occasions
$42.00
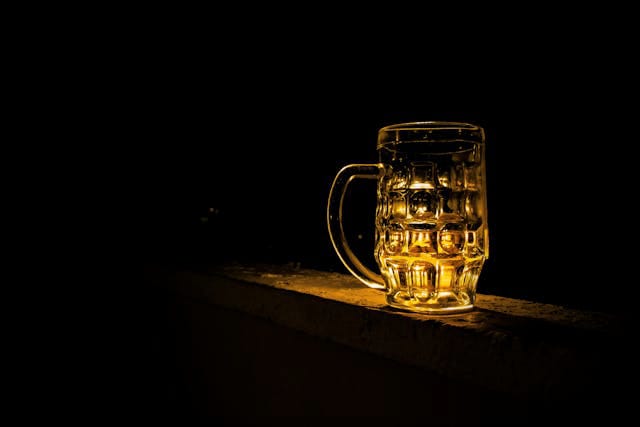
Step-by-Step Guide for DIY Painted Beer Mugs
Custom painted beer mugs are essential for beer enthusiasts, providing a unique way to enjoy your drink. By using simple supplies and unleashing your creativity, you can craft a personalized beer mug that will elevate your drinking experience and impress your friends. Follow our detailed guide to learn how to paint your own beer mugs.
The following materials are required:
– Simple beer glasses
– A selection of acrylic paints in different colors

– Brushes for painting
– Masking tape
– Isopropyl alcohol
Transparent coating
Step 1: Select Your Design
Before starting to paint your beer mugs, you must first choose a design. You have the option to either freehand your design or use painter’s tape to create precise lines and shapes. Consider the appearance you want for your beer mug and make a rough sketch on paper.
Step 2: Wash the beer mugs
Make sure your beer mugs are clean and free of dust or debris before painting them. Use rubbing alcohol to wipe down the surface to ensure proper paint adhesion.
Step 3: Apply the Base Coat Paint
After cleaning your beer mugs, the next step is to apply the base coat. Select a color that will act as the background for your design and use a paintbrush to apply a uniform layer of paint to the mug. Allow the paint to dry fully before proceeding to the next step.
Step 4: Include Your Design
It is now time to decorate your beer mug with your design. You can use painter’s tape to create precise lines and shapes, or you can choose to draw your design directly onto the mug. Feel free to unleash your creativity and try out various colors and patterns.
Step 5: Allow the Paint to Dry
After completing your design, allow the paint to fully dry before adding a second coat. This step will help maintain the longevity of your design, preventing chipping or fading in the future.
Step 6: Administer a Transparent Varnish
For a professional finish and to protect your painted design on your beer mug, apply a clear varnish to seal in the paint and prevent chipping or fading. Be sure to let the varnish dry fully before using the mug.
Step 7: Have fun with your personalized beer mug
Once the varnish has dried, your custom painted beer mug is now ready to be used! Pour your preferred beer into the mug and savor a unique drinking experience that you can take pride in. Display your personalized beer mug to your peers and witness their admiration for your craftsmanship.
To summarize, decorating your own beer mugs can be a fun and artistic way to personalize your drinking experience. By using basic supplies and unleashing your creativity, you can craft a one-of-a-kind beer mug that showcases your individual style and character. Follow these instructions to make your own custom painted beer mugs and enhance your enjoyment of beverages. Cheers!