


-
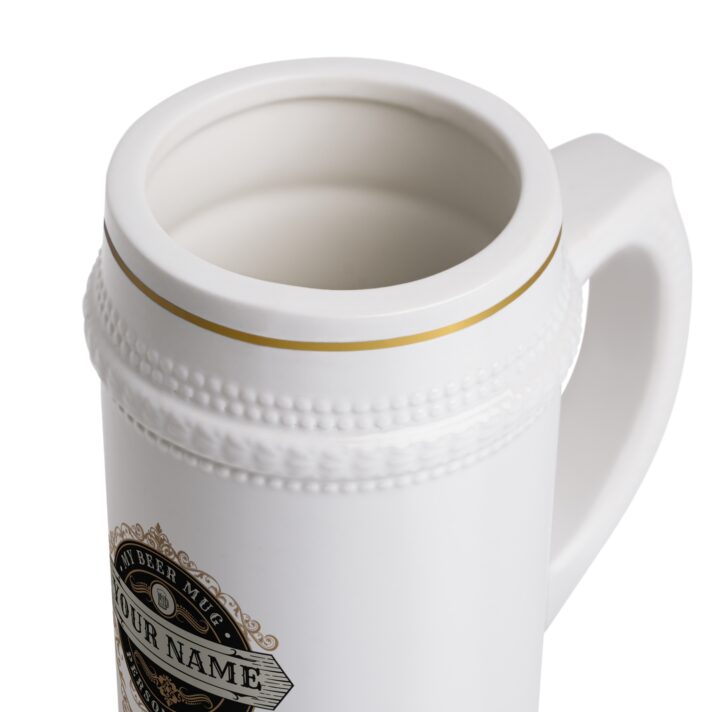
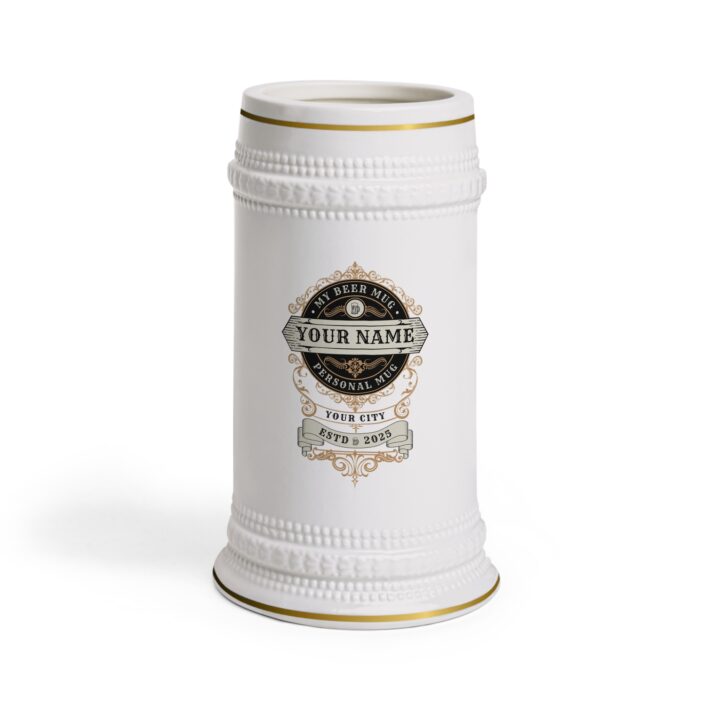
Personalized Beer Stein Mug – Custom Name & City – Perfect for Gifts & Celebrations
$34.00 -
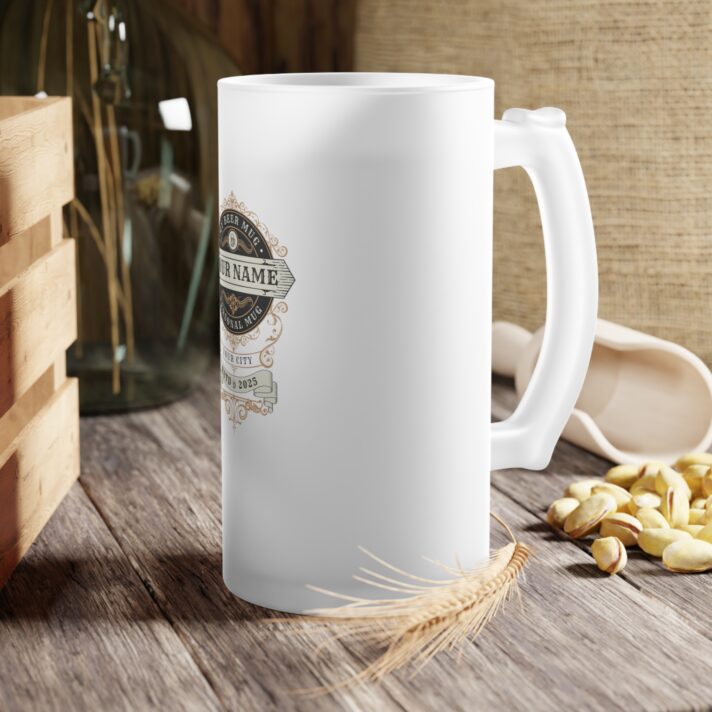
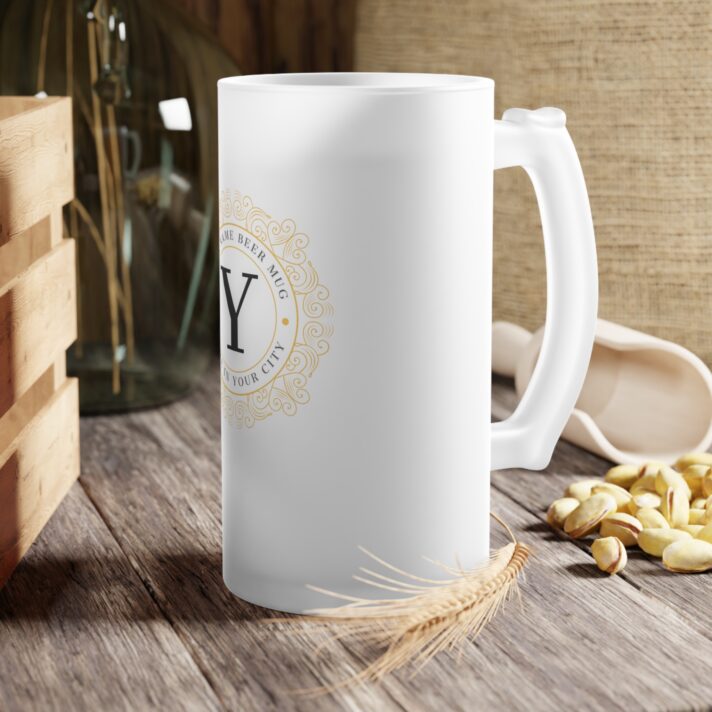
Personalized Frosted Glass Beer Mug – Custom Name & City – Perfect Gift for Beer Lovers
$42.00 -
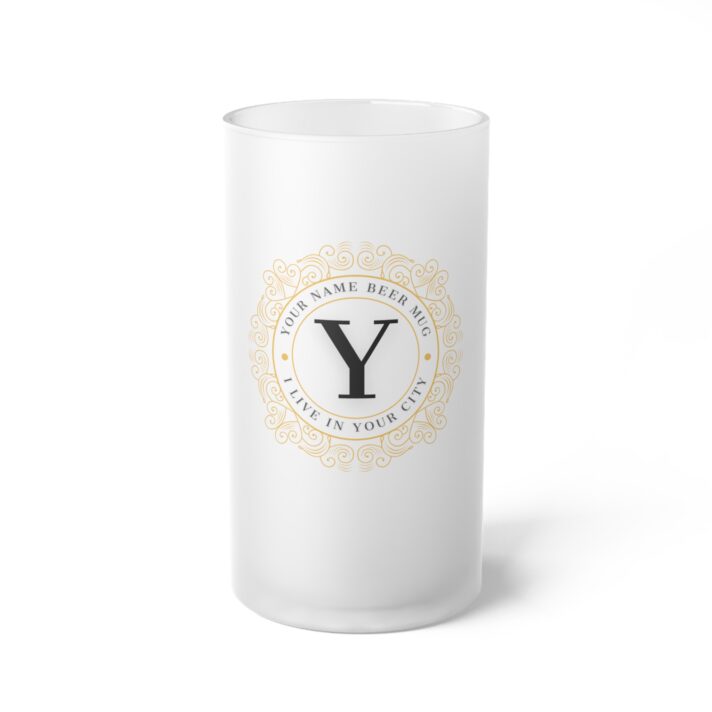
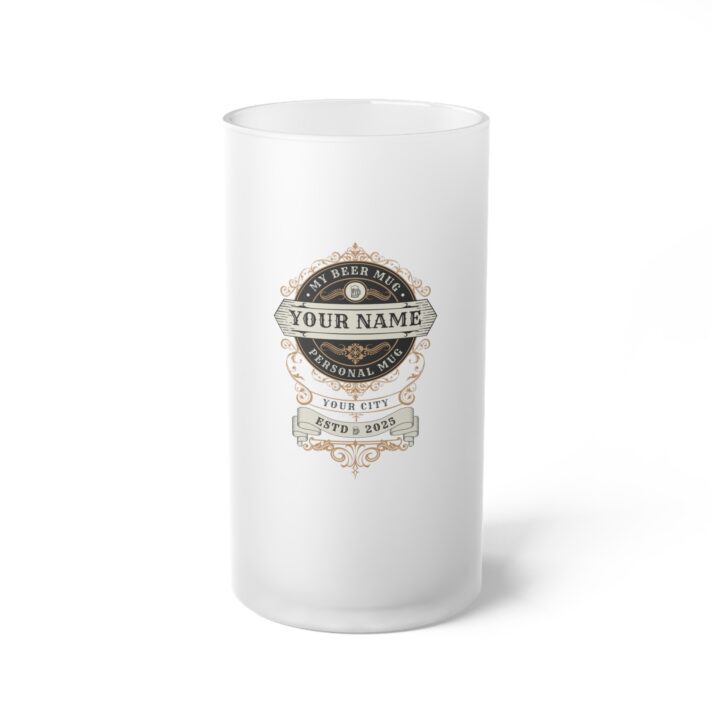
Personalized Frosted Glass Beer Mug – Customizable with Your Name, Perfect for Gifting, Celebrations & Special Occasions
$42.00
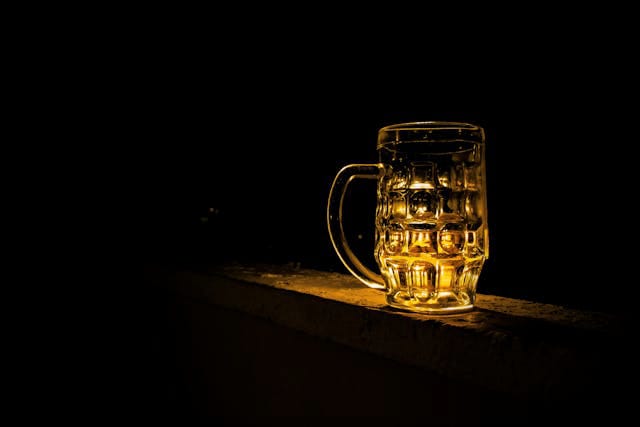
For beer enthusiasts who want to enjoy their favorite brew in a stylish way, a DIY beer mug coaster is the perfect solution. Coasters are a must-have item for any beer lover, as they not only protect surfaces from condensation but also add a personal touch to your drinking routine. Creating your own beer mug coasters is a fun and artistic way to personalize your drinking experience and showcase your crafting abilities. In this guide, we will walk beginners through the process of making their own DIY beer mug coasters step by step.
Items required:
– Coasters made of cork
– Paint made of acrylic

– Brushes for painting
– Mod Podge
– Stencil for beer mug design (free printable versions available online)
– A pair of scissors
– Pen
– Pen for writing
– Transparent sticky paper
Step 1: Select Your Design
To start creating your own DIY beer mug coasters, the initial step is selecting a design. Choices include a traditional beer mug design or more imaginative options like hops, barley, or a brewing kit. After deciding on a design, either print or draw it on paper to serve as a stencil for making the coasters.
Step 2: Create a Stencil by Cutting it Out
Carefully use scissors to cut out the chosen design to make a stencil for your coasters. Be sure to cut out any intricate details with precision for a clean and accurate design on your coasters.
Step 3: Outline Your Design
Place your stencil on top of a flat surface with cork coasters. Use a pencil to trace the outline of your design onto the coaster. Press firmly to ensure a clear outline for painting.
Step 4: Add paint to your coasters
After transferring your design to the coasters, it is time to begin painting. With acrylic paint and brushes, meticulously paint the design on each coaster. You have the option to paint the entire coaster or just the outlined design, whichever you prefer. Feel free to experiment with colors and patterns to create one-of-a-kind coasters.
Step 5: Include More Information
For a more realistic feel, try enhancing your beer mug coasters with details like foam on the beer, bubbles, or a beer label. Use a fine paintbrush with various paint shades to add depth and dimension.
Step 6: Next, seal your coasters to complete the process
After finishing painting and adding details to your coasters, let them dry completely. To protect the design and ensure durability, seal the coasters with a layer of Mod Podge. Apply a thin, even layer of Mod Podge over the entire coaster and allow it to dry completely before using.
Step 7: Trim and Stick Adhesive Paper to Surface
To prevent moisture and condensation from damaging your coasters, cut clear adhesive paper to size for each one. Remove the backing and gently apply the adhesive paper over the painted design on each coaster. Press down firmly to ensure a secure and smooth finish.
Step 8: Try out your homemade beer mug coasters
Once your beer mug coasters have been dried and sealed, they are good to go! Simply place them under your preferred beer mug or pint glass to safeguard surfaces while indulging in your favorite brew with flair. These DIY beer mug coasters are perfect as a gift for beer enthusiasts or as a fun addition to your personal home bar.
In conclusion, creating your own DIY beer mug coasters is an easy and fun project for beginners who want to personalize their drinking experience. By using just a few materials and tapping into your creativity, you can make unique coasters that are practical and trendy. So gather your supplies and begin making your own beer mug coasters today! Cheers!